
前言 #
前一陣子,看了篇文章 我為什麼鼓勵工程師寫 blog,
好像可以來搞個 Blog 試試看,雖然文筆不好,但就當作是筆記吧。
前置作業 #
看了一些網路上的資料,主要考慮為兩派,現有平台或是自建站台。
現有平台:
自建站台:
靠慮到會放程式碼,現有平台對程式碼區塊想對來說比較沒有那麼方便,所以就先剔除了,且身為工程師,不自建站台好像也說不太過去,剩下就是從 Hexo、Gatsby、Eleventy 中去挑選,最後 Eleventy 會勝出,主要是因為他的輕量,好處就是公版要修改的地方也少。
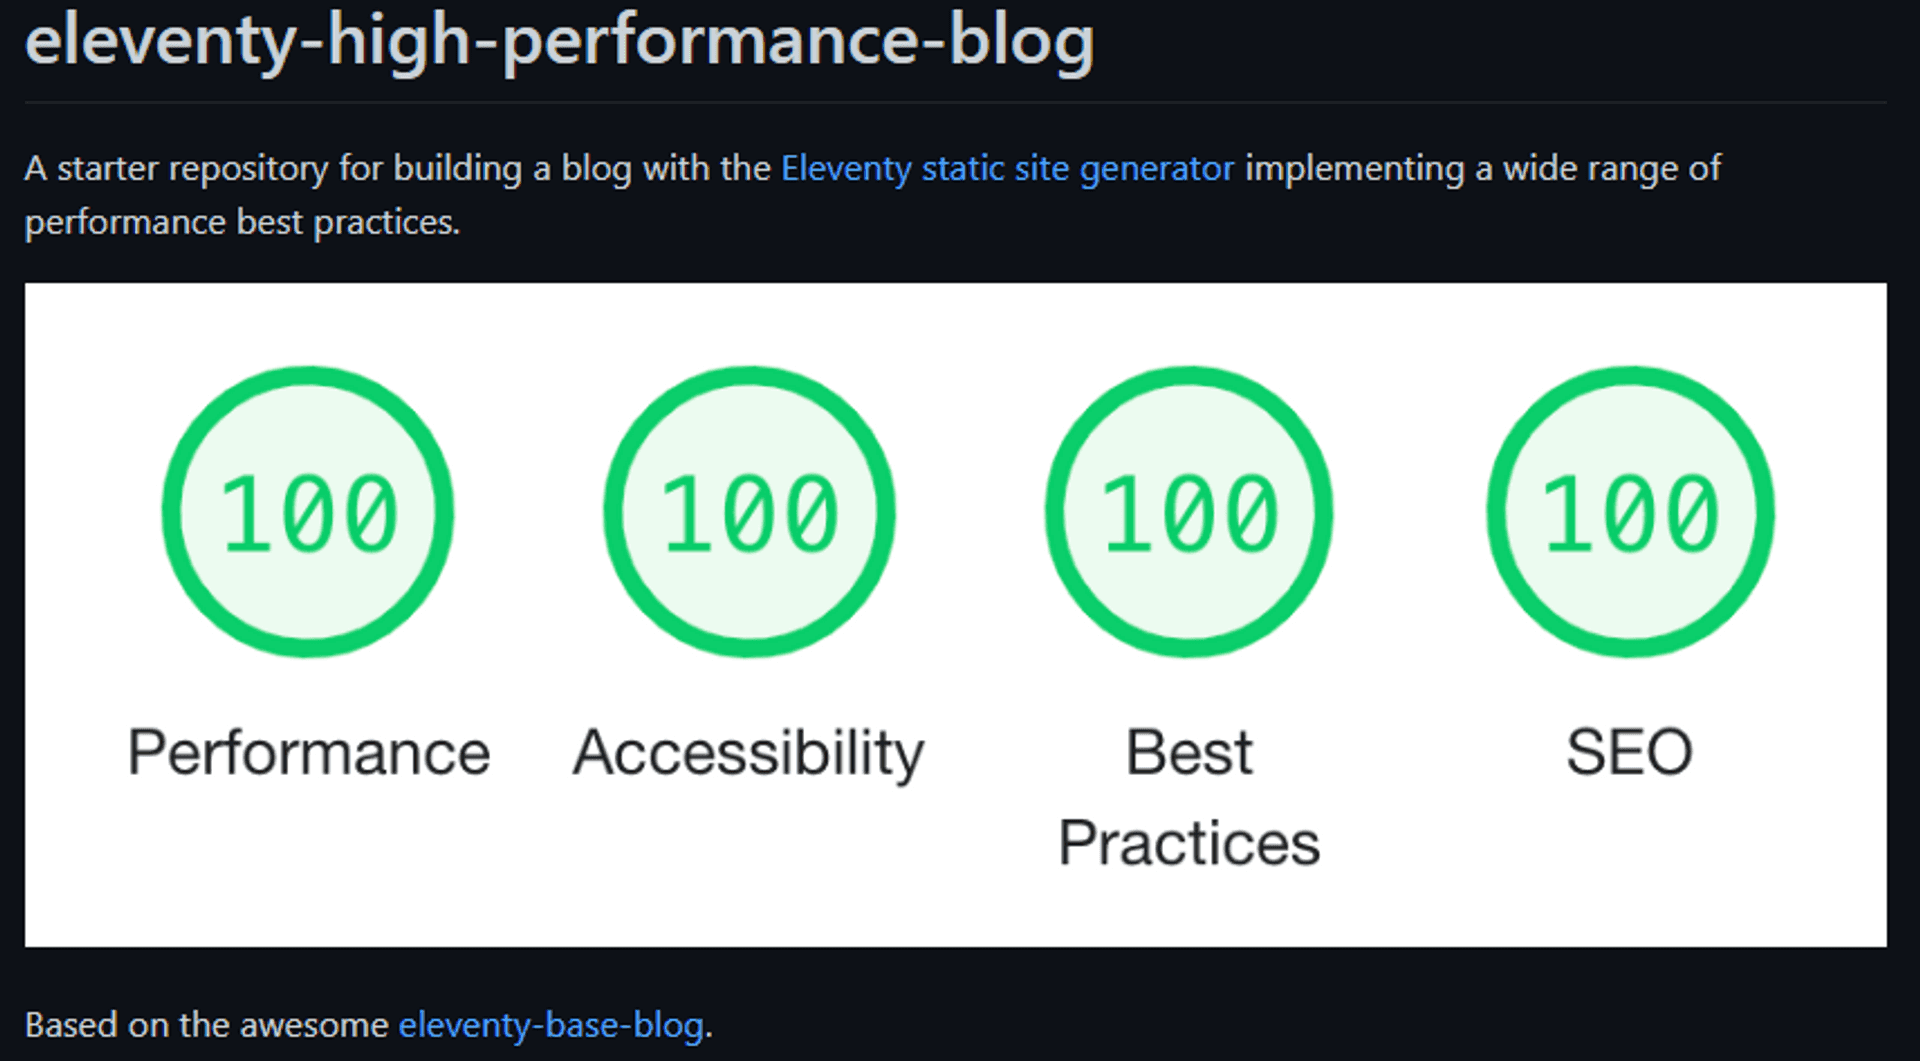
後來又看到了 eleventy-high-performance-blog,一套 Google 工程師所建置的開源部落格模板,以打造高速效能為重,所以就決定用 eleventy-high-performance-blog 的模板來建構 Blog 。
eleventy-high-performance-blog #
看到下面這張圖,都是100,能不香嗎?
官方Demo:
特色:
- 圖片的最佳化
- 少量 CSS 跟 JS
- 基本 SEO 都有
- 有考量 a11y
- 模板簡潔,檔案想對比較少,修改起來比較容易
雖然簡潔,真的很簡潔,看 Demo 就知道了,但好處就是想要什麼自己加,當作練功也是不錯的。
工欲善其事,必先 clone #
基本上,照著 Getting Started 的步驟,就可以把 Demo 建立起來。
但因為我的是 windows 環境,所以 在 package.json 需要稍微修改一下,才能正常執行 npm run watch。
在 scripts 底下新增 wBuild、wWatch、wServe、wClean,專門 windows 環境使用:
{
   "scripts": {
        "build-ci": "npm run js-build && eleventy && npm run test",
        "build": "npm run clean && npm run build-ci",
        "watch": "concurrently \"npm run serve\" \"npm run js-build-watch\" \"npm run test-watch\"",
        "serve": "npm run clean && eleventy --serve",
        "js-build": "rollup -c rollup.config.js",
        "js-build-watch": "rollup -c rollup.config.js -w",
        "debug": "DEBUG=* eleventy && npm run test",
        "test": "mocha test/test*.js",
        "test-watch": "mocha test/test*.js --watch --watch-files=test/*",
        "clean": "rm -Rf ./_site/posts/*",
        "wBuild": "npm run wClean && npm run build-ci",
        "wWatch": "concurrently \"npm run wServe\" \"npm run js-build-watch\" \"npm run test-watch\"",
        "wServe": "npm run wClean && eleventy --serve",
        "wClean": "rimraf ./_site/posts/*"
    }
}
在 windows 環境時,執行動作也要稍微修改一下:
Build, serve, watch and test
npm run wWatchBuild and test
npm run wBuild
顏色配置 #
如果不知道顏色怎麼搭配,可以參考 Colormind。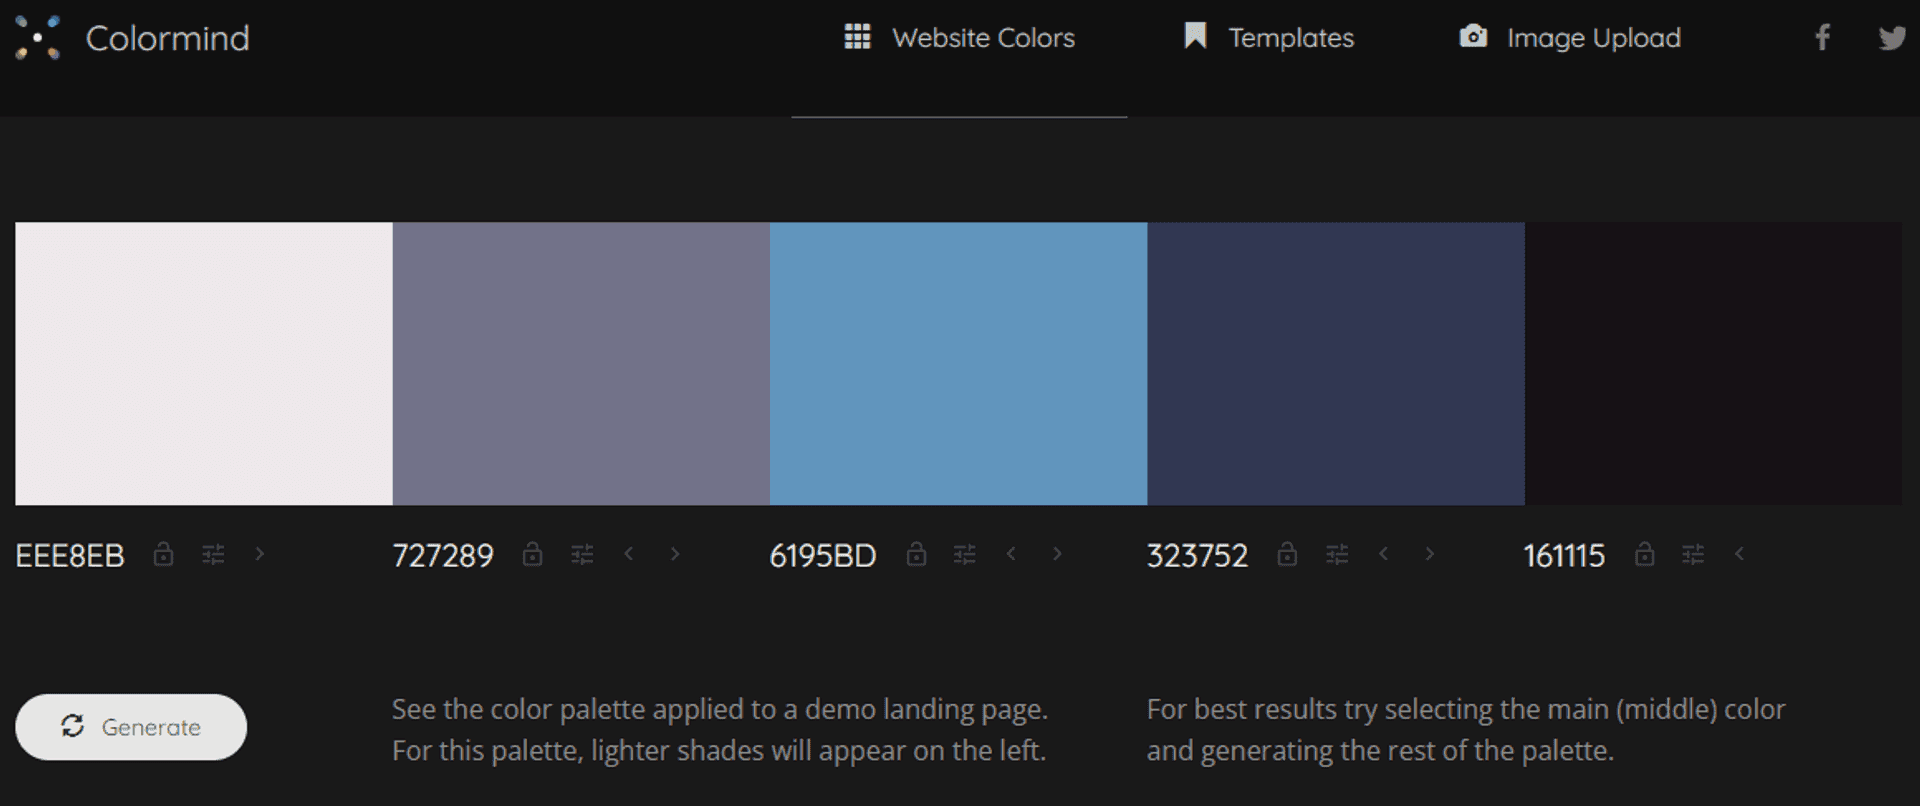
留言功能 #
Giscus 由 GitHub Discussions 驅動的留言系统。讓訪客借助 GitHub 在你的網站上留言和留下反應吧!Giscus 很大一部份是受 utterances 啟發。文件寫得蠻清楚的,照著操作就可以正常執行了。
總結 #
到這裡,模板基本上應該是可以正常執行了,再來就是自由發揮了。
系列文請參考 自己的 Blog 自己架。